Fall One Room Challenge: Final Reveal
This project was created in a partnership with the One Room Challenge Sponsors!
Today is the big day friends! The final reveal of the ONE ROOM CHALLENGE!!!!! This is really such a fun event to participate in. This is my second one room challenge and again one of my absolute favorite rooms in my house! There is nothing quite like the one room challenge to get this designer on track and get a room finished at my house. My house always takes the back seat to my client’s spaces, so it is really fun to treat myself with a little design time! Are you ready? Here she is…
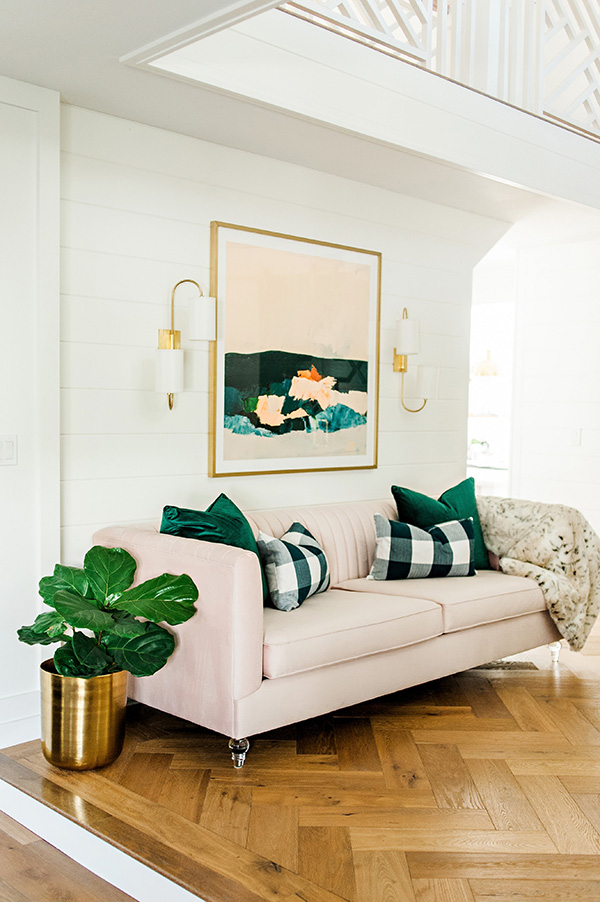
Sources: Blush Sofa: Hayneedle Artwork: Minted Sconces: Hudson Valley Lighting Pillows: Homegoods Blanket: Homegoods
Let’s break down this beautiful space shall we? Let me just start by saying that this blush sofa is may be the softest piece of furniture I have ever felt. I’m not even kidding, it is so comfortable. We have been finding ourselves sitting in the entryway just hanging out. My kid’s have been playing on their tablets on it and my husband and I have sat there and chatted about our day. This sofa is seriously amazing!
I knew that I was going to need a large piece of art to set the stage for my color scheme in this room. This gorgeous artwork has the most vibrant tones of teal, emerald, navy and blush. I feel like it really ties everything together. This artwork made the green on my barn doors and my blush sofa make sense together in my room. This artwork is 44″ square with a matte brass frame and makes a big statement in the space.
The artwork is flanked by these mid century inspired sconces. I love the lines of these sconces and they give off a decent amount of ambient light. They have just the right amount of whimsy that I love in a fine piece of lighting.
Let’s not forget about the other side of the room, it is really just as pretty!
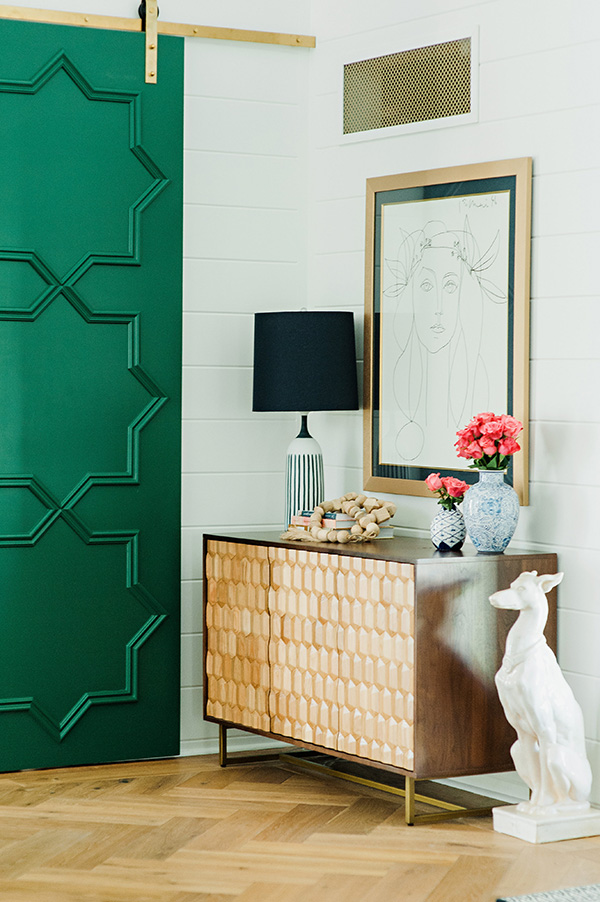
This pretty sideboard from Article is the perfect addition to my home. It provides so much storage and the wood details on the doors are so beautiful. I knew that the tone of the buffet would pull in my flooring and pop so pretty against the green doors we made.
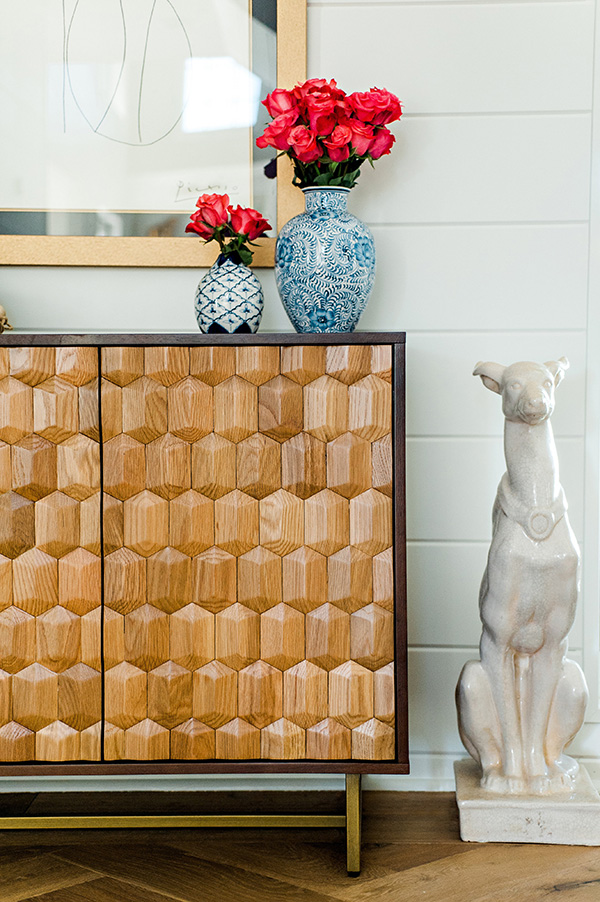
Atop the sideboard sits the prettiest lamp from Lamps Plus. My walls in this room are all white v-groove moulding so I wanted something with color that would pop off of the walls. A lamp with a white shade just wouldn’t have been as striking. The navy on the shade is a perfect complement to the artwork across the room.

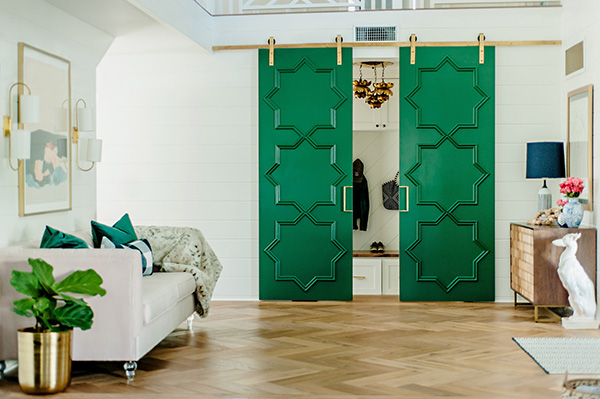
The green doors my husband I made turned out better than I could’ve imagined. I decided to paint them Billiard Green by Dunn Edwards. This was the deeper green I was going for but had that hint of blue I was looking for as well.
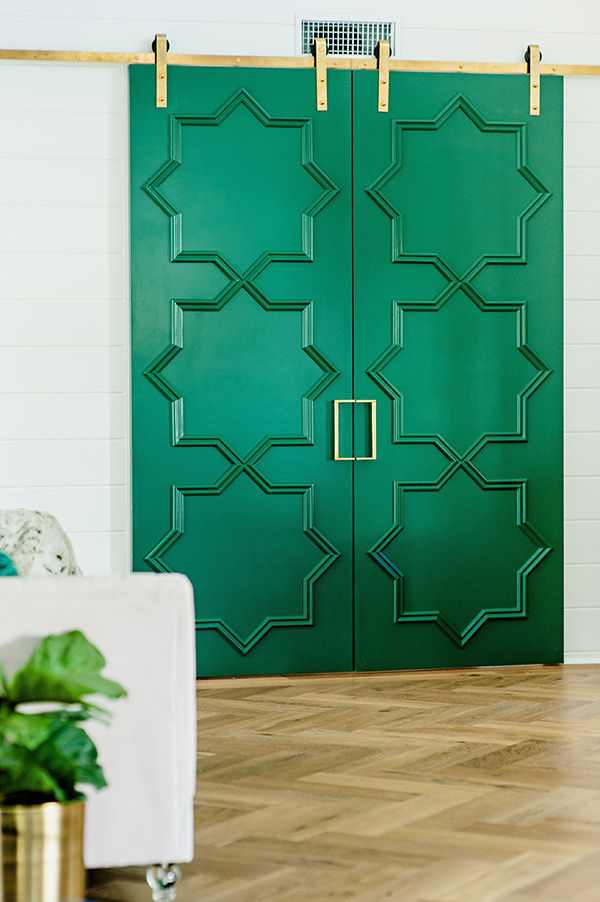
The reason I decided to go with the bold green doors is that I felt like they helped break up all the white of the v-groove moulding a little, oh and I love to take a good design risk!
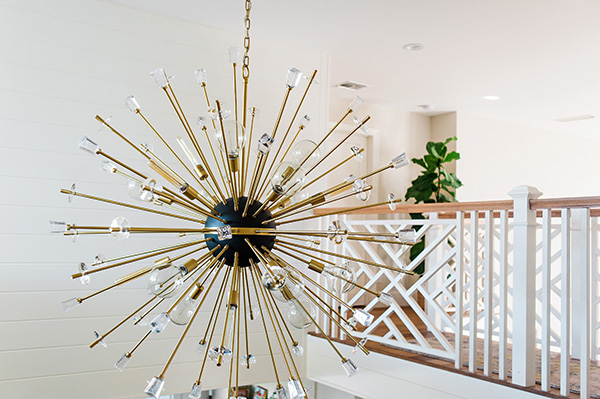
There is one more gem in this room that might be it’s crowning glory. It is very hard to photograph the room with the gorgeous chandelier because it is a 2 story ceiling height. I promise you won’t be disappointed!
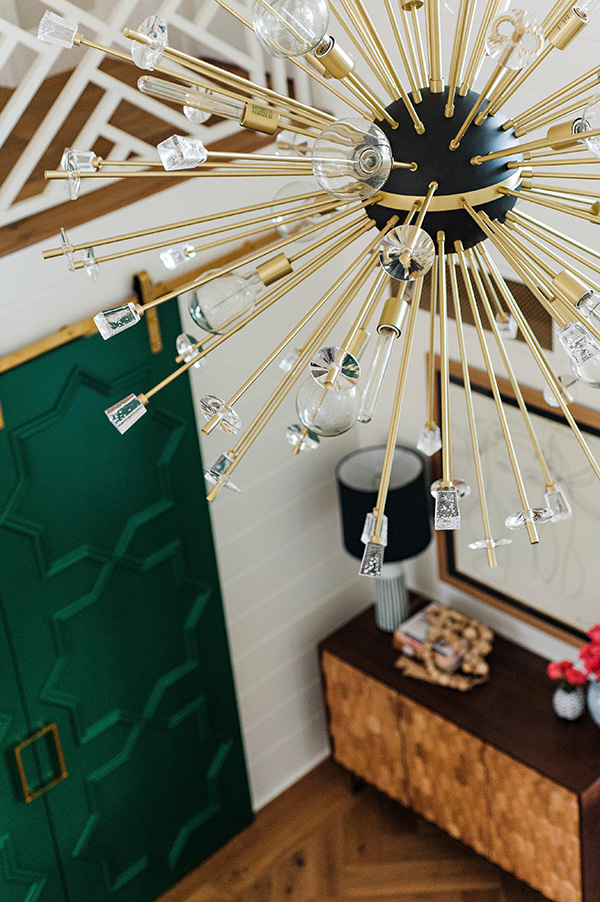
This chandelier from Hudson Valley Lighting makes a big statement in the room at 46″ wide. Once you walk in and look up you are greeted by this beauty and I honestly love it so much. This 2 story ceiling can really take a large chandelier like this, It is even more impressive when you are upstairs and you can look at it eye level, it is a stunner!
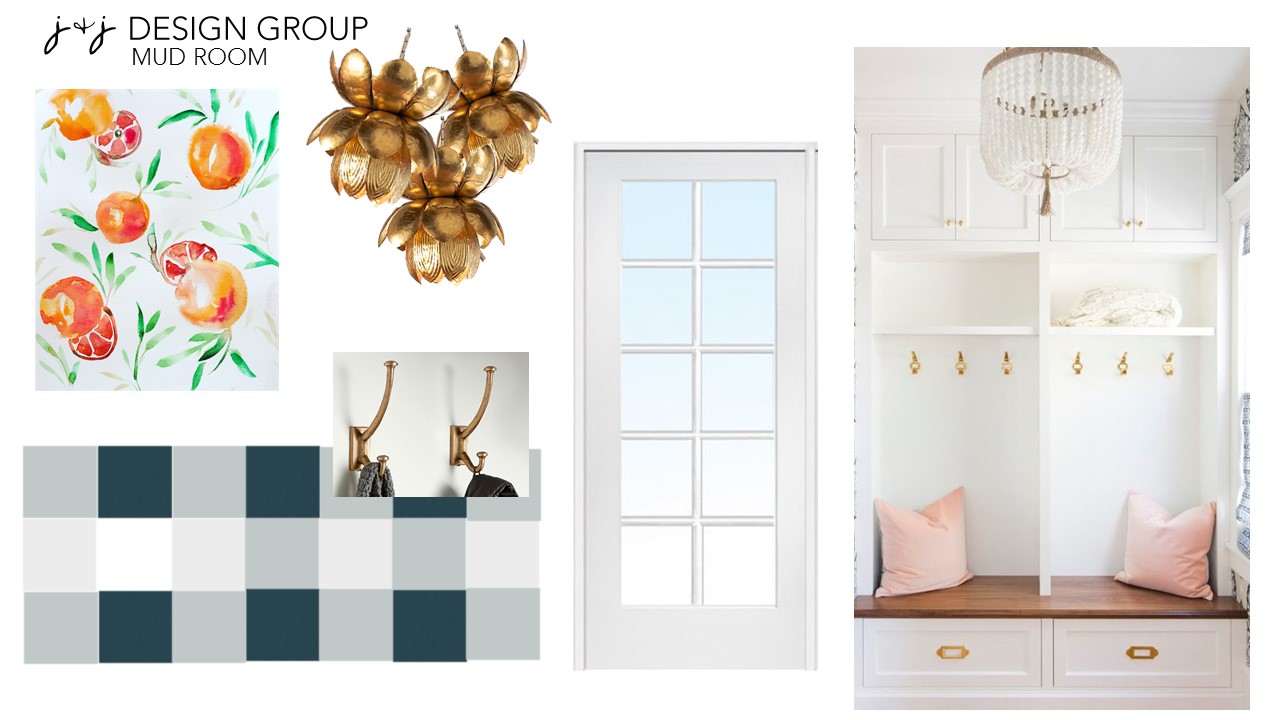
One of my favorite parts of finishing a project like this is to look back at the design board I created to see it all come full circle. What a satisfying thing to see your vision come to reality and that is why I love what I do.
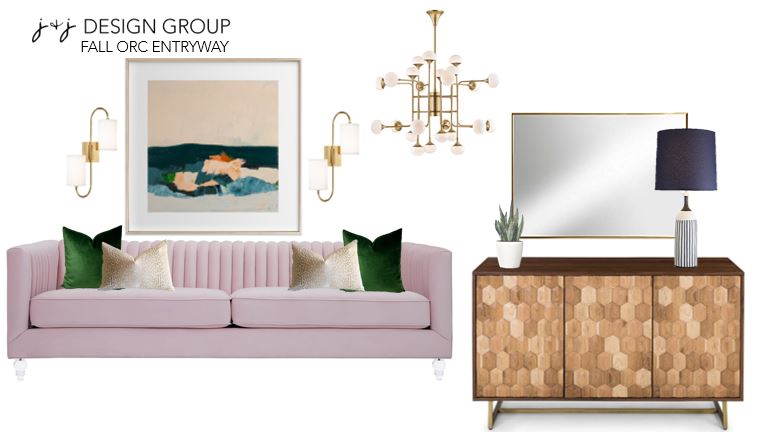
I hope you are inspired to overhaul a room at your house and don’t be afraid to make yourself a design board. Design boards are very easy to make on Powerpoint, you will feel like you have a direction and a plan to execute. Be sure to check out all the reveals of my fellow challengers. Some of them took on some pretty hefty projects this season and some really beautiful designs have been executed.
XO,

All photos by: Jackie Lindfors, Everydayness Photography
At Home with Ashley | Bre Purposed | Dabito | The English Room | Erin Kestenbaum
Harlow & Thistle | House of Brinson | J & J Design | Kelly Golightly | Linda Holt
Megan Bachmann | Michelle Gage | Mimosa Lane | Murphy Deesign | Vestige Home
Old Home Love | SG Style | Shay Geyer | Sita Montgomery | SMP Living
Media Partner Better Homes & Gardens | TM by ORC


