Fall One Room Challenge: Week One

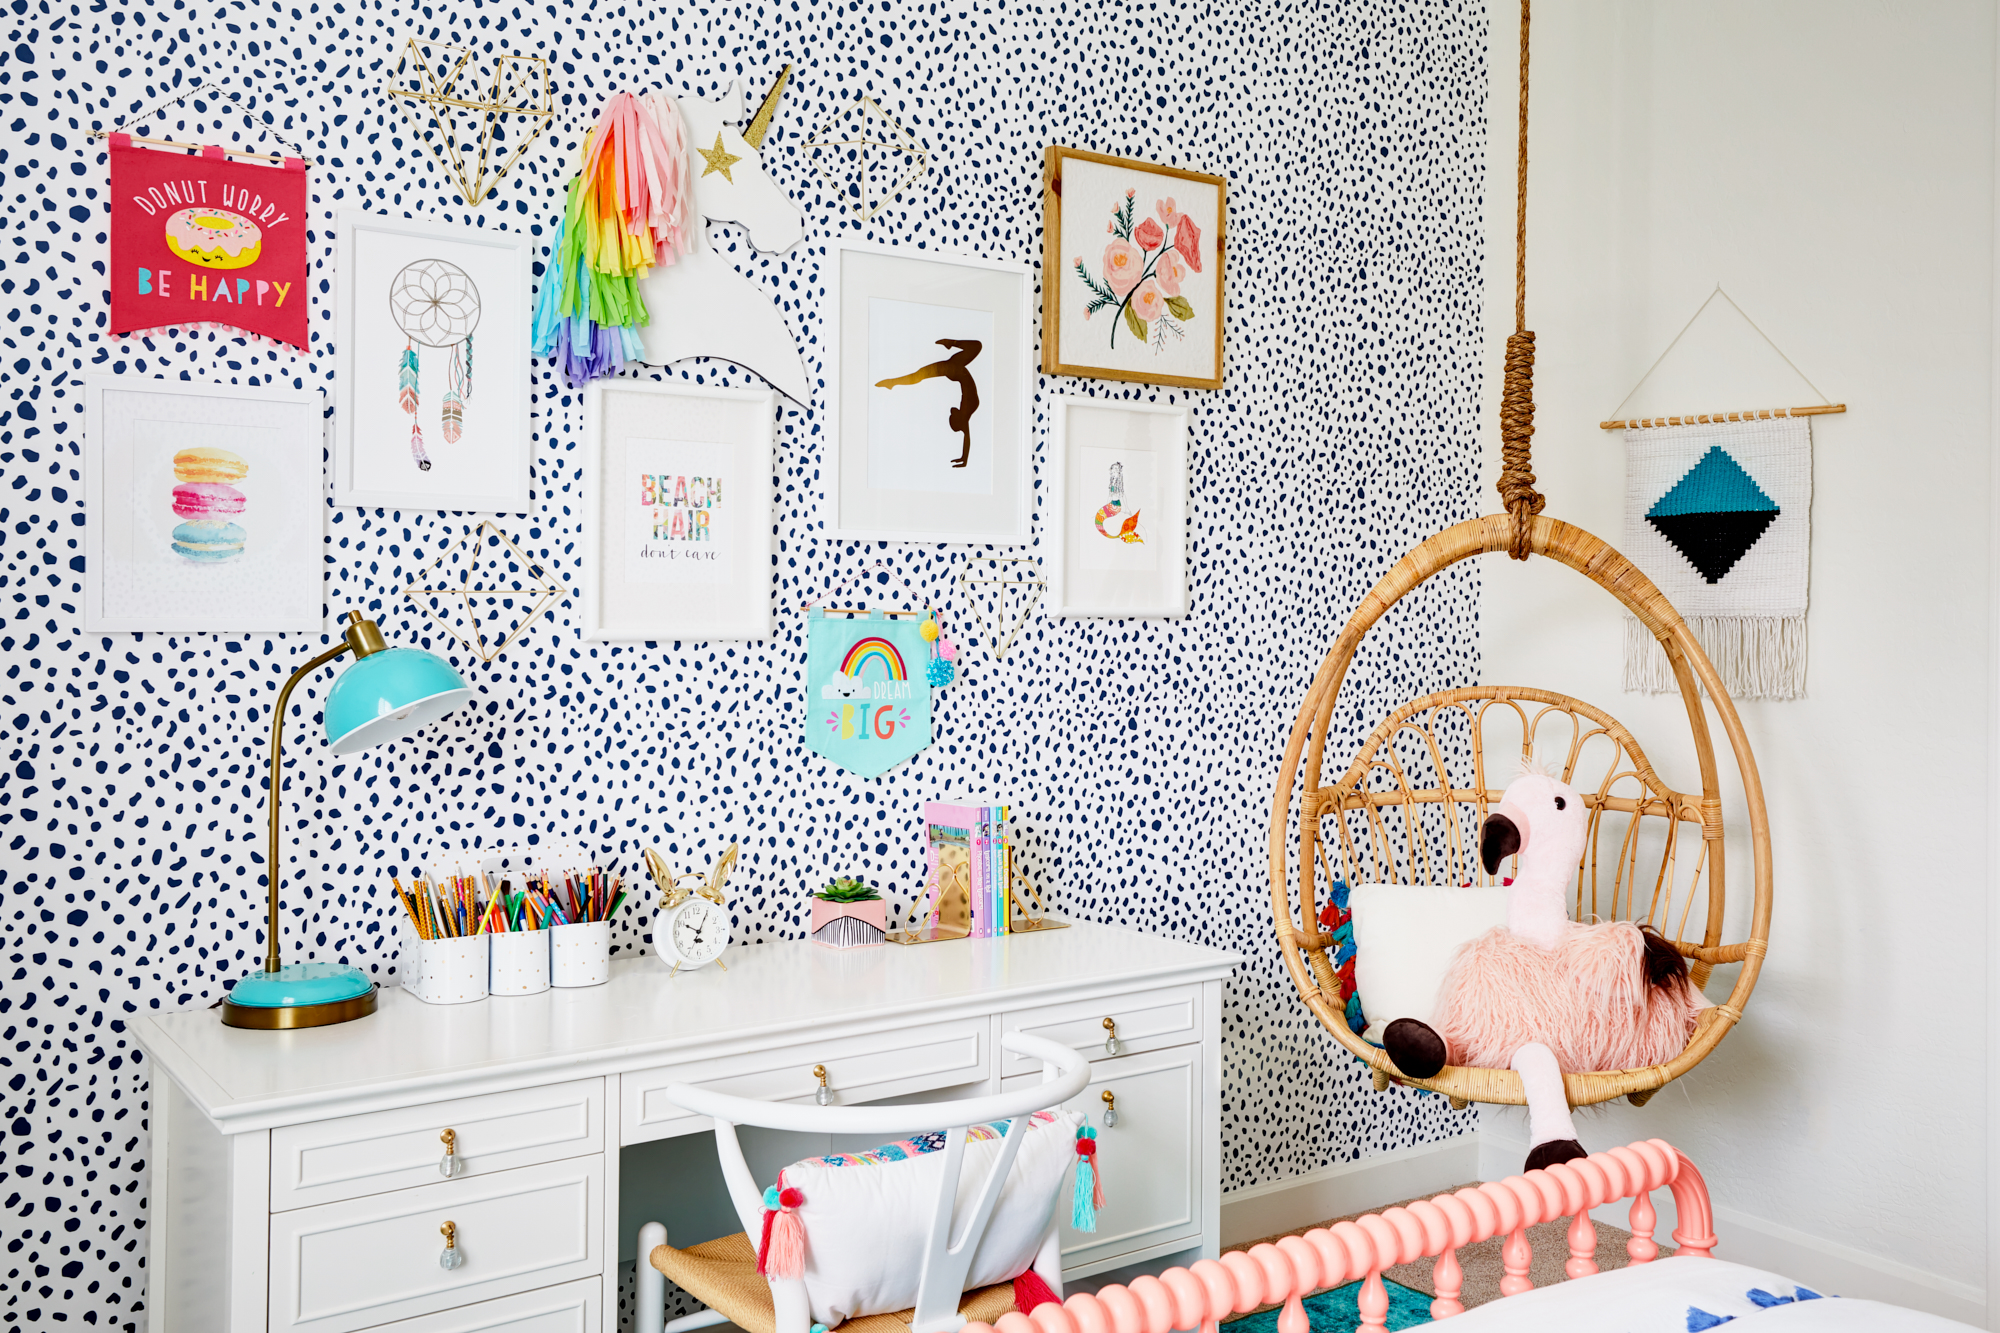
I am so honored to be a part of the One Room Challenge this fall. Last time I took part in the challenge I completely remodeled my Living Room/ Dining Room area. I have to say, it is my most favorite room in the house! Just to jog your memory, here it is!

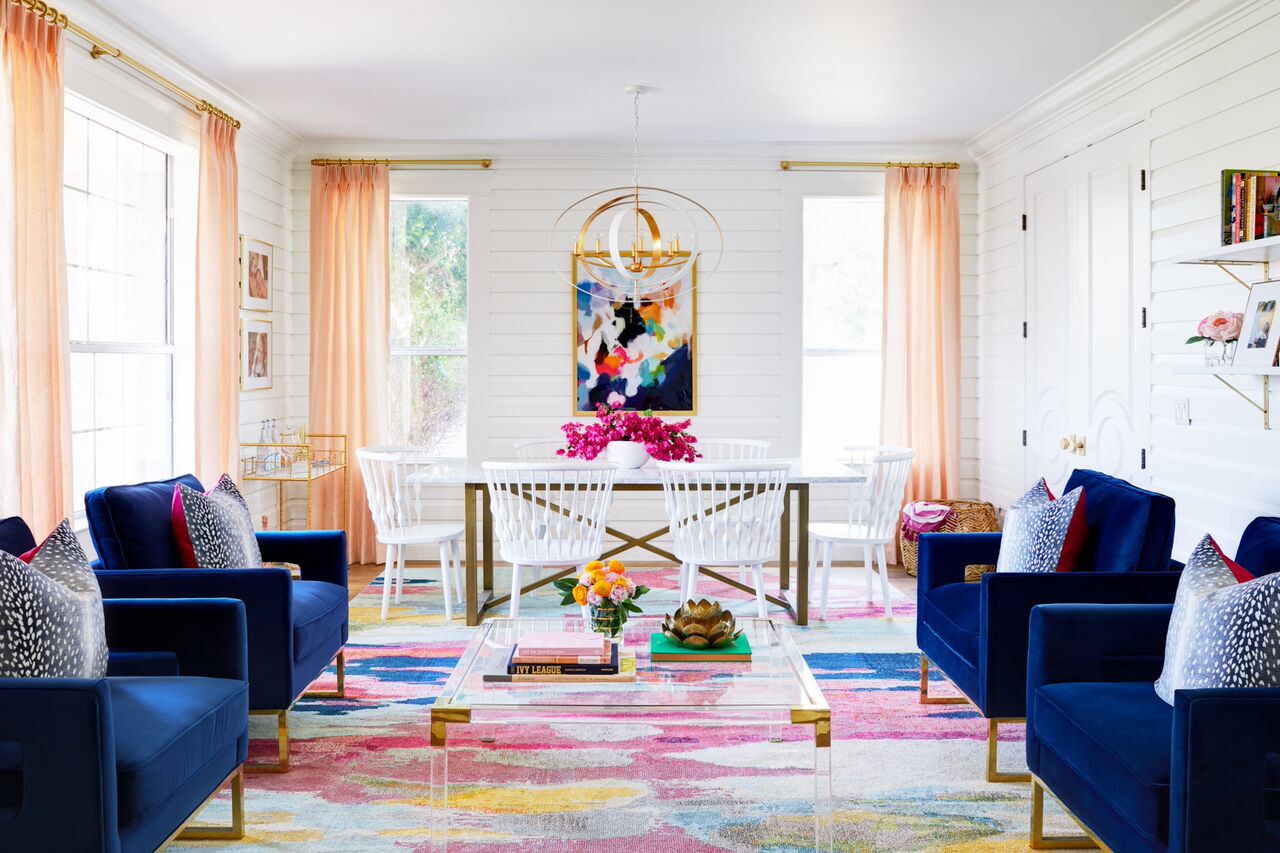
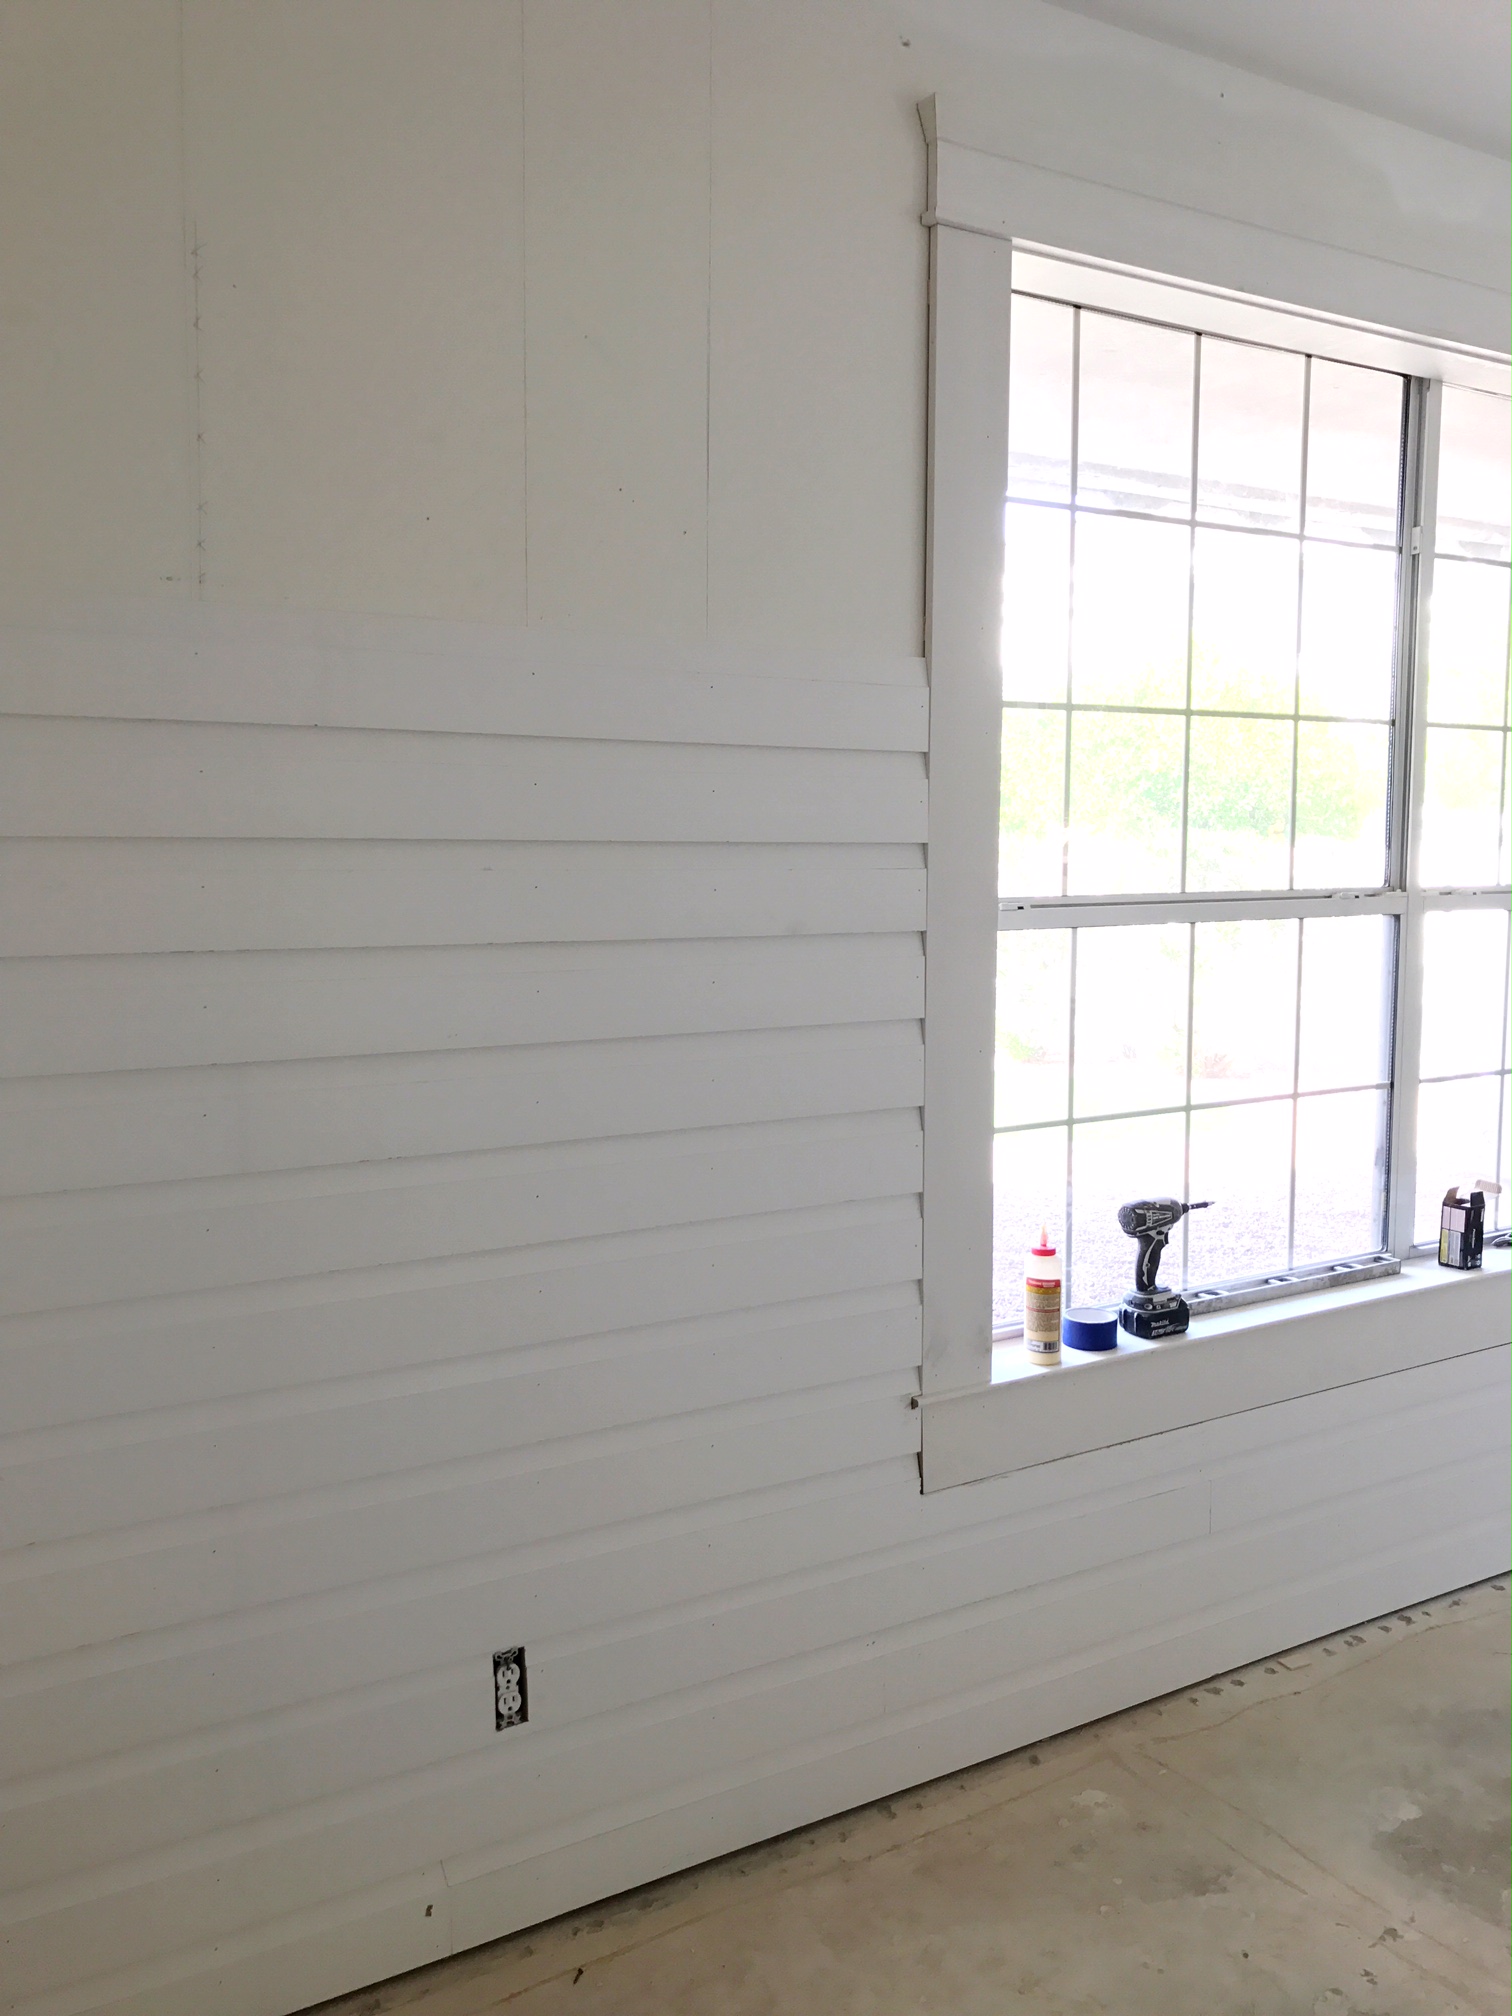
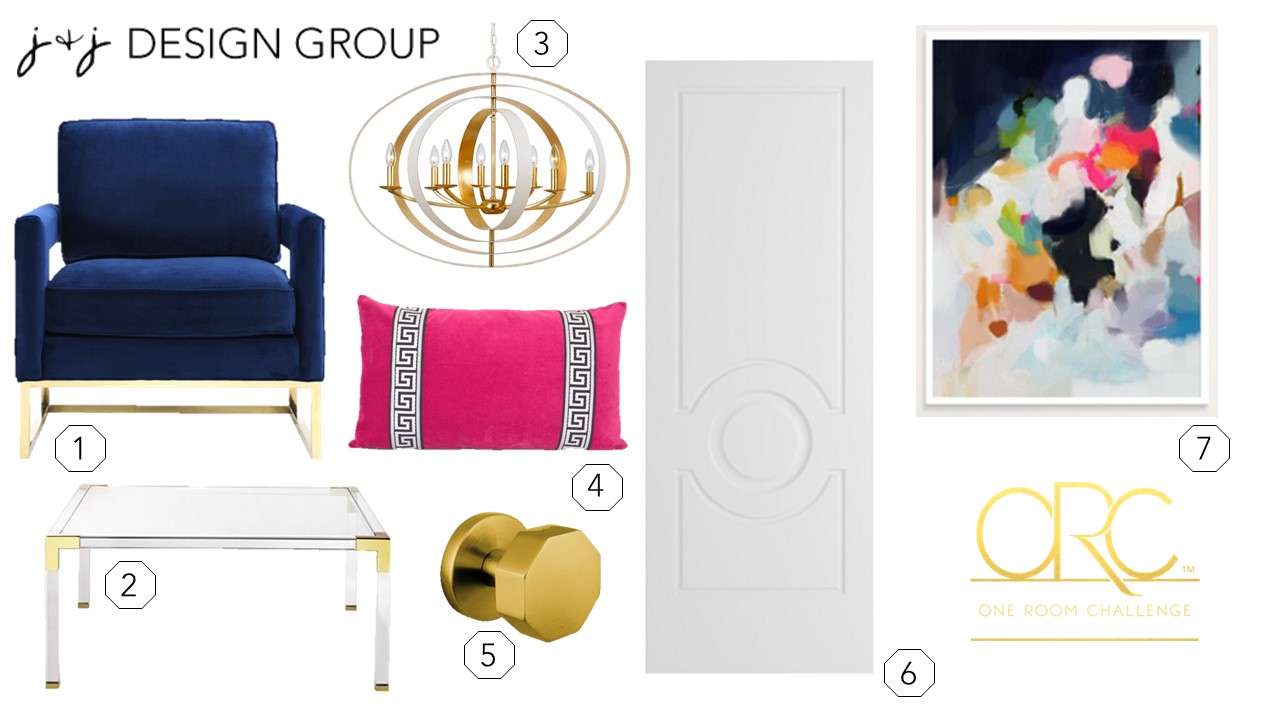
Needless to say I absolutely love color and since this is my house, there will plenty of it to go around. This challenge, I decided to redo my entryway off of this room. It really just doesn’t compare and since you can see them at the same time, the entryway definitely could use a little love.

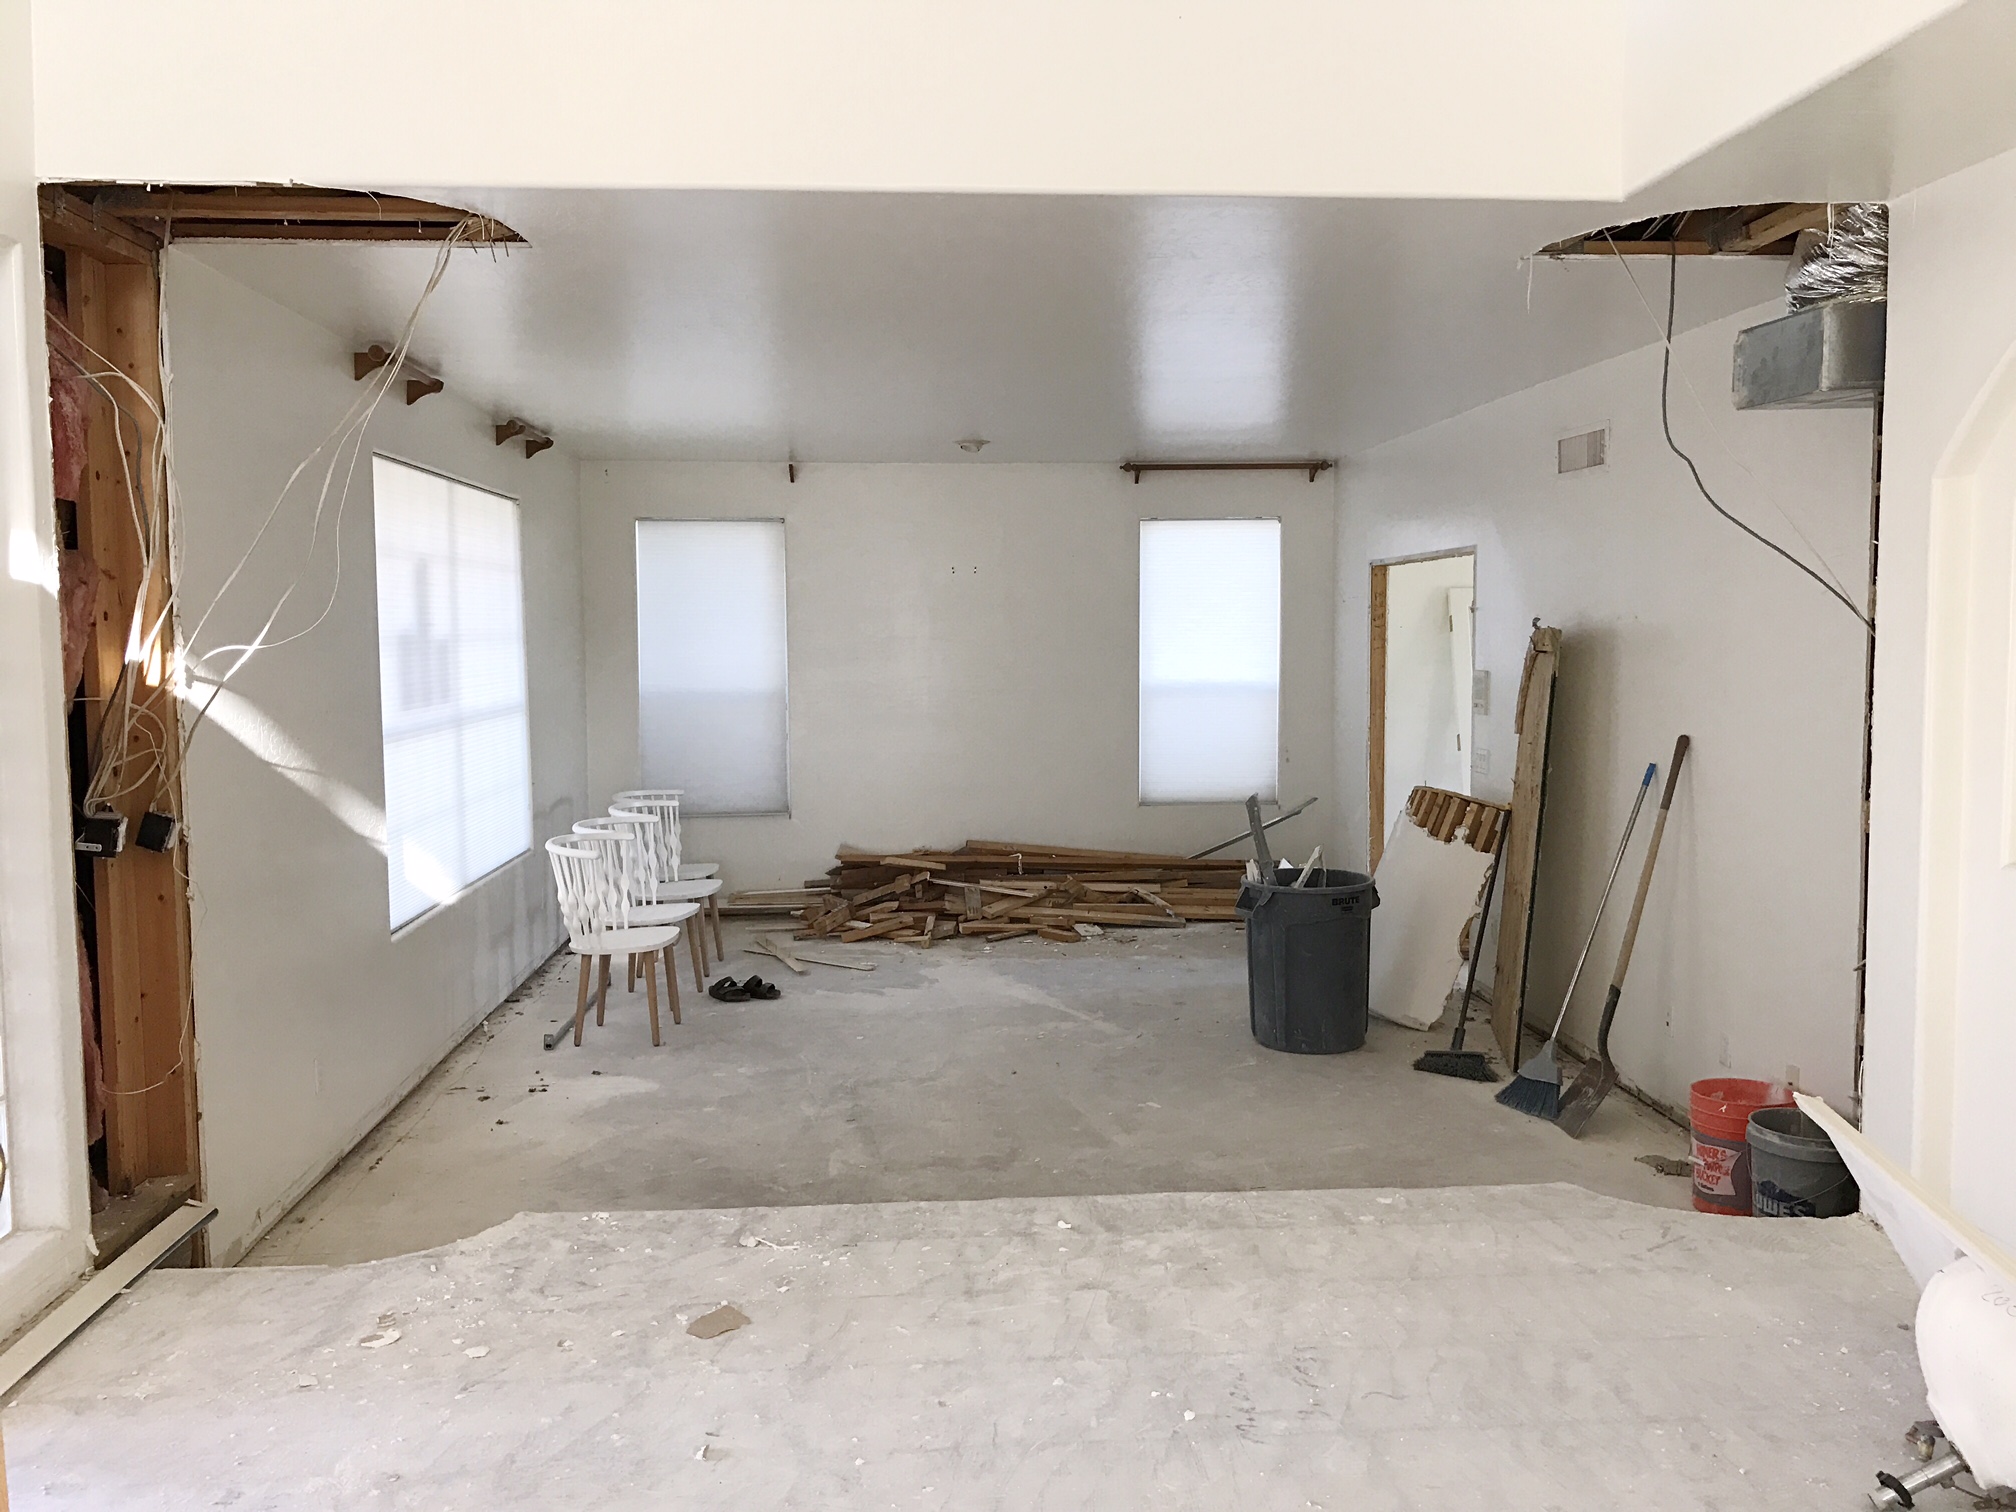
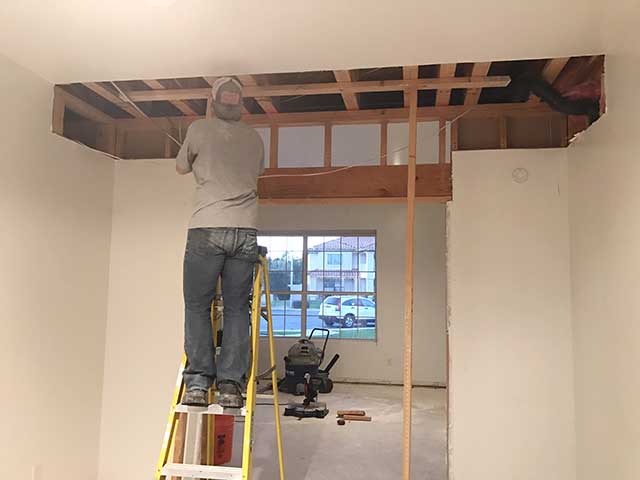
When we purchased the house, every room had to be gutted and redone. The architecture was dated, the finishes were dated and obviously the floor was dated. Here is what we had to work with when we first moved in about a year ago.

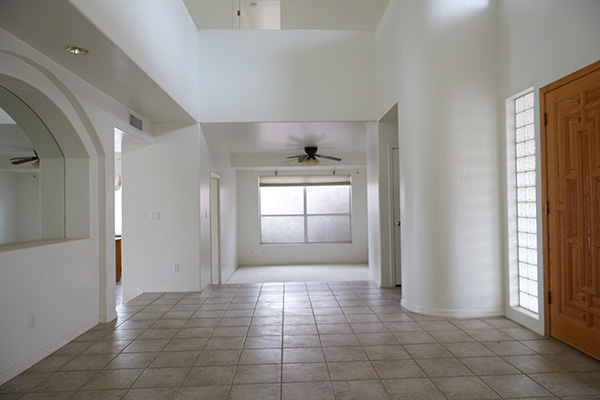
Ah, yes, just look at that arched mirror on the left. I am pretty sure this is not what our guests want to see as they enter my home. There are too many things going wrong here, I just had to start from scratch LOL!

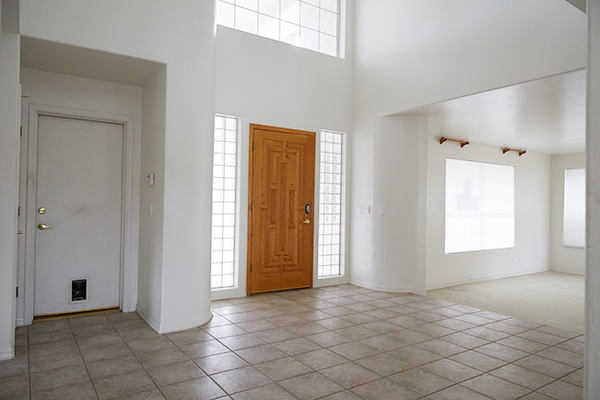
The room to the right is my Living Room/ Dining Room the room pictured above from my first ORC. Obviously these pictures are older but I wanted you to see a true before of how far this room will come by the end of the challenge. What could I possibly do with this terrible space?? What on earth have I gotten myself into? Well, I guess you will just have to follow along to find out! I promise you will not be disappointed.

XO,

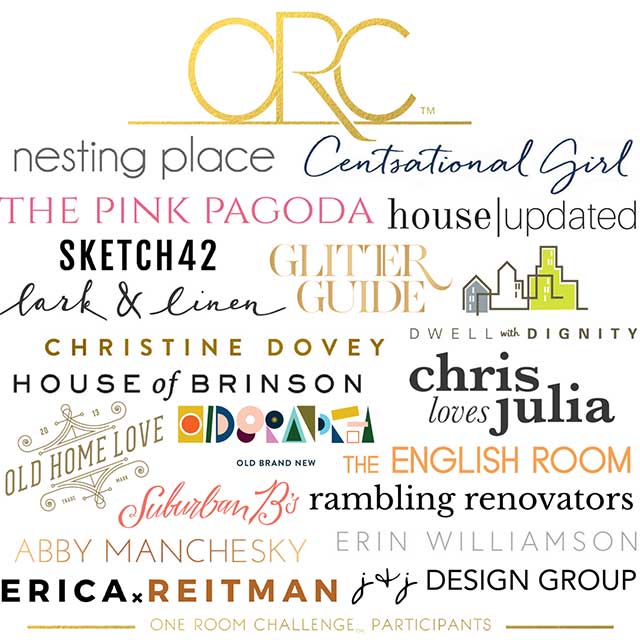
Please make sure to follow along with all my fellow challengers to see all the good design that is to come from this fun challenge!

At Home with Ashley | Bre Purposed | Dabito | The English Room | Erin Kestenbaum

Harlow & Thistle | House of Brinson | J & J Design | Kelly Golightly | Linda Holt

Megan Bachmann | Michelle Gage | Mimosa Lane | Murphy Deesign | Vestige Home

Old Home Love | SG Style | Shay Geyer | Sita Montgomery | SMP Living

Media Partner Better Homes & Gardens | TM by ORC

Tween Girl Room Design Reveal

Little girls’ rooms are really fun to design! Maybe because I was a little girl once and I remembered how I loved to spend time in my room by myself drawing and daydreaming.  Times have changed a little with technology but I think as a young girl it is still important to have a space you can call your own.

This room was very special to me, this little girl had asked Santa Claus if Jo could design her room for Christmas. I mean, how cute is that?? I sent her a little video letting her know that Santa had contacted me and her parents played if for her on Christmas morning!

When I first saw this her it looked like it was for a very little girl. I knew that my little client was coming into her own and needed a space that felt a little more mature and still a little fun!

I first pulled together this design board to get her approval, and make sure I was going in the right direction.

She was so excited with what I came up with and couldn’t wait to get started! I knew I wanted to hand make some fun elements for her room that could make it a little extra special. I decided to make these fun XOXO sparkly letters for above her bed. I put them on top of this cute navy and white Dalmatian wallpaper.

I think the room turned out pretty close to my design board don’t you?

I added a desk area on the opposite wall of the bed for homework and long drawing sessions. The gallery above the wall reflects some of her favorite things like gymnastics and the beach.

There is also a fun hanging chair where she can hang out with her friends and spend time reading her favorite books.

A happy little girl and a happy designer! These are the types of rooms that I can really get my creativity flowing and have so much fun creating!

XO,

One Room Challenge: Week 2

This project was created in a partnership with the One Room Challenge Sponsors!  

All ideas and opinions are my own!

Really?! How is it week 2 already? So much to do, so little time! I am feeling good though so far, one thing I know for sure is that everything takes longer than you think it will!! First thing is first, we had to demo the space, and by that I mean remove the existing nasty carpet, take down the short doors, and get rid of those hideous rounded columns. Oh, and don’t forget that awful tile YIKES!!!

Here is a picture after we finished the demolition. Look how open the room is now! Isn’t that crazy?

 One Room Challenge Week 2 Progress

The demo took about a day, then we had to pour the concrete for the steps that were missing where we ripped out the columns. I don’t know about you, but I love to tear out old and dated architectural elements.

After we filled in the steps we built out smaller square columns since we still had to hid a bit of duct work in the right column. We had a little re-wiring to do as well.

Next up was raising the header height on the doors. I love to do this any chance I get in a room. The taller doors bring your eye up and really make the room feel more grand. It can actually be a fairly easy thing to do, as long as the door way isn’t structural like mine is. As long as your ceiling is 9′ or taller, you can definitely fit in an 8′ door.

Raising Header Height on Doorway

I selected these gorgeous doors from Metrie’s Fashion Forward collection. I dreamt that one day I would have doors this beautiful in my home, thanks to the One Room Challenge, my dreams are coming true. Do you know what the best part is? They lead right into my home office so I will see these beauties everyday! I will be finishing them off with some gorgeous Emtek brass hexagon door knobs, they are like jewelry to the perfect dress!


Metrie Fashion Forward Doors

Photo credit: Metrie.com

It is not a secret that we love moulding over here at J&J! Working with Metrie, whom has such gorgeous door and moulding selections was so much fun. I wanted to create a “shiplap” look but with a twist. I found a baseboard that had an interesting profile and stacked it on top of each other to create this cool detail on the walls. We also cased out the windows with a more simple moulding to offset the wall detail. Here is a sneak peek of what we have so far. Once we caulk and paint, it’s going to be BANANAS!!!!!!

One Room Challenge| Metrie wall Detail | J&J Design Group

Let’s dig in a little bit and see what I am going to be doing with furniture in this fine One Room Challenge shall we? Like I mentioned in my Week 1 post, I like to design with a neutral back drop and pop in color. Here is a teaser with a few of the products I am using in my room. Let me know what you think!!

J&J Design Group | One Room Challenge Week 2

Sources:

1 Navy Velvet Chair : All Modern | 2 Lucite Coffee Table: Lamps Plus | 3 Chandelier: Crystorama |

4 Custom Pink Pillow| 5 Brushed Brass Knobs: Emtek | 6 French Doors: Metrie |7 Artwork: Parima Studio

 Can you feel it? Feel it starting to come together…… Oh my, I am so excited!!

Don’t forget to follow along with my fellow challengers below!

XO,

Centsational Girl | Chris Loves Julia | Christine Dovey | Dwell With Dignity | The English Room

Glitter Guide | House of Brinson | House Updated  | J+J Design Group | Lark & Linen | Abby Manchesky

Nesting Place | Old Brand New | Old Home Love | The Pink Pagoda | Rambling Renovators

Erica Reitman | Sketch 42 | Suburban B’s | Erin Williamson  Media Partner House Beautiful | TM by CIH

DIY Pencil Cups | jandjdesigngroup.com

DIY Pencil Cups

Anyone who knows me, knows I am a sucker for office supplies and organizational vessels ha! Target has the best craft isle and every time I head down it, I can’t help myself but pick up some new thing. I found these cute little wood cups that are raw wood and were just screaming my name, so I’m showing how to make these cute little DIY Pencil Cups! These could even be a cute gift to give teacher’s for their desk at school.

DIY Pencil Cups | jandjdesigngroup.com

Hey Jo, wanna craft something??? Why I sure do!

I was working on accessorizing a client’s kitchen and they have the cutest little play table that I had painted navy blue that the kids could do their crafts on. I wanted a cute way to display all their crayons and markers so I made these little cuties.

These are so simple to make anyone can do it. Crafty or not! Here is what you need to get started.

Wood Plant Pots from Target /Rustoleum Gold Spray Paint

Acrylic Paint: Colors of your choice  /Blue Tape

Black Puffy Paint

Paint Brush/  Pencil

DIY Pencil Cups | jandjdesigngroup.com

I started by taping off the containers at a diagonal. The first layer I was masking the parts that I wanted to keep the natural wood. I then painted them with a gold spray paint. The Rustoleom one from Home Depot happens to be my personal favorite of all the gold spray paints.

DIY Pencil Cups | jandjdesigngroup.comI turned the cups upside down when I sprayed them so the top rim would stay the raw wood color.

DIY Pencil Cups | jandjdesigngroup.comNext I pulled off the tape to see what areas were left to add colored paint to.

DIY Pencil Cups | jandjdesigngroup.com

DIY Pencil Cups | jandjdesigngroup.comI then taped the containers again at a diagonal to mask off some of the raw wood areas and some of the gold areas.

Now, I will be sure to have bold lines and still keep some of the gold and wood intact.

DIY Pencil Cups | jandjdesigngroup.comNext, pull off the tape again to reveal all the colors in different interesting patterns. You really can’t go wrong, try not to think about it too much. It usually turns out better that way:)

DIY Pencil Cups | jandjdesigngroup.comLastly, draw on the face you want to add with a pencil first to make sure it is just how you want it. Then draw over the line with black puffy paint and let dry.

DIY Pencil Cups | jandjdesigngroup.com

Finish it off with a coat of Satin clear coat spray paint so it doesn’t mar easily.

And there you have it a cute little pencil cup for a playroom, desk or even for your kitchen.

DIY Pencil Cups | jandjdesigngroup.com

jo signature 2